Parallel Parking Guide: A Repeatable Method That Works

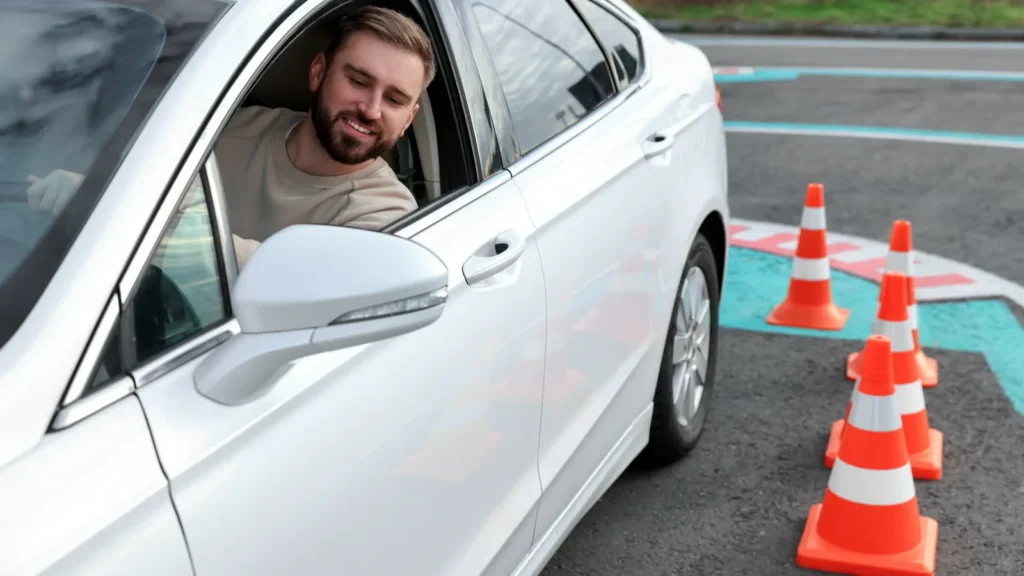
Parallel parking fails more driving test candidates than almost any other maneuver, not because it requires unusual skill but because most drivers try to eyeball distances instead of using consistent reference points. This guide breaks the maneuver into a fixed sequence of mirror checks and steering points that work in nearly any vehicle, so the process becomes a repeatable habit rather than a stressful guess each time you approach a curb space.
Why most people struggle with parallel parking
The core difficulty is not steering skill but spatial judgment: drivers cannot see the rear corners of their own car well enough to trust distance estimates, so they either hang too far from the curb or clip it. Trying to solve this by turning around and looking through the rear window at the ground is unreliable because the angle hides exactly the corner that matters.
A second common problem is starting the turn too early or too late relative to the car ahead of the space, which throws off every subsequent step. Because the maneuver is a chain of small movements, one mistimed step compounds into a wide, multi-correction parking job instead of a clean two- or three-point entry.
The fix for both problems is the same: stop relying on judgment calls and instead use fixed points on your own car — mirrors, window pillars, or specific trim lines — that line up with the target car or curb at each stage. Once you find these points in your own vehicle, the maneuver becomes mechanical rather than intuitive guesswork.
Setting up before you start
Choose a space that is meaningfully longer than your car, at least one and a half car lengths for a first attempt, since a tight space adds difficulty you do not need while learning the method. Approach the space at a slow, steady speed, staying about two to three feet away from the parked car ahead of the target space rather than hugging it or drifting wide.
Signal your intent early, both to alert traffic behind you and to build the habit for the driving test, where signaling is graded independently from the parking execution itself. Come to a full stop when your rear bumper is roughly aligned with the rear bumper of the car ahead of the space, which is the first fixed reference point in the sequence.
Check your mirrors and blind spot one final time before reversing. Parallel parking involves reversing into an active lane, and a driver approaching from behind may not expect a car ahead of them to suddenly back up, so this check is not optional even in light traffic.
The reference-point method, step by step
With your rear bumper aligned to the target car's rear bumper and about two to three feet of lateral space between the cars, shift into reverse and begin backing up slowly while turning the wheel fully toward the curb. Continue reversing until your car reaches roughly a 45-degree angle to the curb, which most drivers can gauge by watching the target car's front bumper appear in the center of their own rear side window.
At that 45-degree point, straighten the wheel completely and continue reversing in a straight line. This is the step most people skip, and skipping it is what causes the car to enter the space at too steep an angle and clip the curb with the rear tire.
Once your front seat is roughly parallel to the rear bumper of the car ahead of you — or once you can see the curb clearly in your rearview mirror running alongside your car — begin turning the wheel fully in the opposite direction, away from the curb, to swing the front of your car in. Continue slowly until your car is roughly parallel to the curb.
Straighten the wheel and make small forward and backward adjustments as needed to center the car in the space, leaving reasonably even gaps front and back. Most driving tests allow you to pull forward once to reposition, so use that adjustment deliberately rather than treating a first imperfect result as a failure.
Judging distance from the curb without guessing
A car parked too far from the curb, generally more than about 18 inches in most states, can be cited just like an illegally parked car, and it also signals to a test examiner that spatial judgment is weak. A reliable way to judge curb distance without staring at the ground is to glance at your side mirror once stopped; if you can see a strip of curb and roughly half of your rear tire, you are typically close enough.
If the mirror shows a wide gap with no curb visible at all, you are likely too far out and should pull forward, straighten, and reverse in again with a slightly sharper turn at the 45-degree stage. If the mirror shows the curb running directly under the car with no visible gap, you may be too close or already touching, and should adjust before finishing.
Some vehicles have curb-view camera features that make this judgment easier, but the mirror method works in any car and is the version tested during a road exam, so it is worth practicing without relying on a camera.
Common variations: uphill, downhill and tight spaces
On an uphill parallel parking spot with a curb, after completing the parking maneuver you should turn your wheels away from the curb, so that if the car rolls backward it rolls into the curb rather than into traffic. On a downhill spot, turn the wheels toward the curb for the same protective reason discussed in general hill-parking rules.
In a tighter space, the same method still applies, but the margin for error at the 45-degree checkpoint shrinks considerably. Slowing your reversing speed even further in a tight space gives you more opportunity to stop and reassess your angle before committing to the final swing.
If a space is genuinely too tight for your vehicle, the safer decision is to skip it rather than force a fit that leaves you sticking out into the lane or unable to exit later. Judging space length accurately before starting the maneuver saves far more time than attempting and abandoning a bad fit.
Practicing until it becomes automatic
The reference-point method only becomes fast and reliable through repetition in a low-pressure setting, such as an empty parking lot with cones or two parked cars standing in for the target space. Practicing the same sequence ten or fifteen times in a single session builds far more muscle memory than a single attempt on a real street with traffic behind you.
Once the maneuver feels comfortable in an empty lot, practice on a quiet residential street with actual parked cars, since real curbs, actual traffic behind you, and slightly different car heights change the reference points enough that lot practice alone is not sufficient preparation for a driving test.
Finally, practice narrating each step out loud during a few runs — mirror check, reverse, 45 degrees, straighten, swing, straighten, adjust. Verbalizing the sequence under low pressure builds the same procedural memory that will keep you calm when an examiner or real traffic is watching.
Real-world examples
- A student consistently ends up too far from the curb; after checking her side mirror at the finish of each attempt, she realizes she is straightening the wheel one second too early during the swing-in phase and adjusts the timing.
- A driver approaches a parking space too fast and passes the correct rear-bumper alignment point before starting to reverse, resulting in a car that ends up too far forward with insufficient room to complete the swing.
- On a hill test route, a candidate correctly reverse-parks between two cars but forgets to turn the wheels toward the curb afterward, which an examiner marks as an incomplete maneuver even though the parking itself was clean.
- A driver practicing in an empty lot with cones nails the maneuver every time, but the first attempt on a real street with a car waiting behind him rushes the process and clips the curb, showing why lot practice alone is not enough.
- A driver misjudges a parking space as long enough, gets partway through the maneuver, and realizes there is not enough room to complete the swing without hitting the car behind, so she pulls out and moves to a longer space instead of forcing it.
Key tips
- Use your side mirror to check curb distance instead of turning around and guessing through the rear window.
- Stop at the rear-bumper alignment point every time, so the rest of the sequence starts from a consistent position.
- Straighten the wheel completely at the 45-degree mark before continuing straight back; do not skip this step.
- Choose spaces at least one and a half car lengths long while you are still building the skill.
- Practice narrating each step out loud to build procedural memory that holds up under test-day pressure.
- Remember the hill rule after parking: wheels toward the curb facing downhill, away from the curb facing uphill.
- If a space feels too tight partway through, pull out and choose a longer space rather than forcing a bad fit.
Common mistakes
- Starting the reverse turn before reaching the rear-bumper alignment point. Fix: come to a full stop at the correct alignment before beginning to reverse.
- Turning the wheel too gradually instead of fully at each stage. Fix: turn the wheel all the way at the 45-degree and swing-in points rather than a partial turn.
- Forgetting to straighten the wheel at the 45-degree mark. Fix: consciously stop and center the wheel before continuing straight back.
- Judging curb distance by looking over your shoulder instead of the mirror. Fix: use the side mirror's curb-and-tire view for a consistent read.
- Rushing the maneuver because a car is waiting behind you. Fix: signal, take a breath, and proceed at your practiced pace; a brief wait is normal and expected.
- Attempting a space that is clearly too short for your vehicle. Fix: evaluate space length before starting and choose a longer space if in doubt.
- Skipping the post-maneuver hill wheel-turn on sloped streets. Fix: always check for grade and apply the appropriate wheel direction after parking.
Frequently asked questions
How many pull-forward adjustments are allowed on a driving test?
This varies by state and examiner, but many road tests allow one adjustment to reposition the car without automatic failure. Excessive repositioning, hitting a curb, or entering the maneuver at an unsafe angle are more likely to cost points than a single clean adjustment.
What is a safe distance from the curb once parked?
Most states consider anything under about 12 to 18 inches acceptable, though the exact legal limit varies. Using the side mirror to confirm you can see a visible strip of curb alongside your rear tire is a reliable way to stay within a safe and legal range.
Why do I keep hitting the curb with my rear tire?
This usually means you are turning too sharply or too late during the initial reverse, causing the rear of the car to arc into the curb before the car is angled enough. Slowing down and stopping precisely at the 45-degree checkpoint before straightening the wheel typically fixes this.
Is parallel parking still tested in every state?
Not universally; some states have dropped it from the standard road test while others still require it, and requirements can change. Check your specific state DMV's current road test checklist, since relying on outdated information about your state's requirements is a common and avoidable mistake.
Should I use backup cameras or sensors while learning?
They can help, but road tests generally expect you to rely on mirrors and direct observation, not cameras, so practicing without them builds the transferable skill. Once the maneuver is second nature, using available camera assistance in daily driving is a reasonable and safe addition.
Summary
Parallel parking becomes manageable once you replace guesswork with a fixed sequence of reference points: bumper alignment, a 45-degree reverse, a straightened wheel, and a controlled swing into the space. The mirror, not the rear window, is your best tool for judging curb distance. With repeated practice in a lot and then on a real street, the maneuver shifts from a source of test-day anxiety to a routine skill you barely think about.
Related guides